

Usually I find a recipe to try out and it needs just a little tweaking here or there. I know I haven't got it JUST RIGHT until I've made it a few times and put my own spin on it, this recipe though? OMG its absolute PERFECTION just the way it is, Mika over at The 350 Degree Oven totally NAILED IT. They were puffy, they were crispy on the outside but warm and smushy on the inside. They were sweet but not too sweet, they were, simply, PERFECT.
Honesty time here guys? I woke up and thought "mm I want fresh doughnuts but I don't want to get the baby in the car and drive to the store, that's SO much work, I know I'll just make them!" Nope. Just no. If this is you, stop right here and go find another recipe. This recipe is NOT for the faint of heart, it requires 15 minutes of kneading, 2 separate hour long rises, 1 hour of proofing and then, obviously deep frying. I started around 8am and didn't have doughnuts until around 2pm but that didn't stop me from eating them ALL once they were done, boy oh boy were they delicious!

Don't worry though, I'll walk you through every step. If you still feel intimidated, or exhausted just from READING about these guys then just wait until next week when I post my easy peasy cake doughnut recipe that results in finished donuts in just under 30 minutes. Mmmm cake doughnuts...

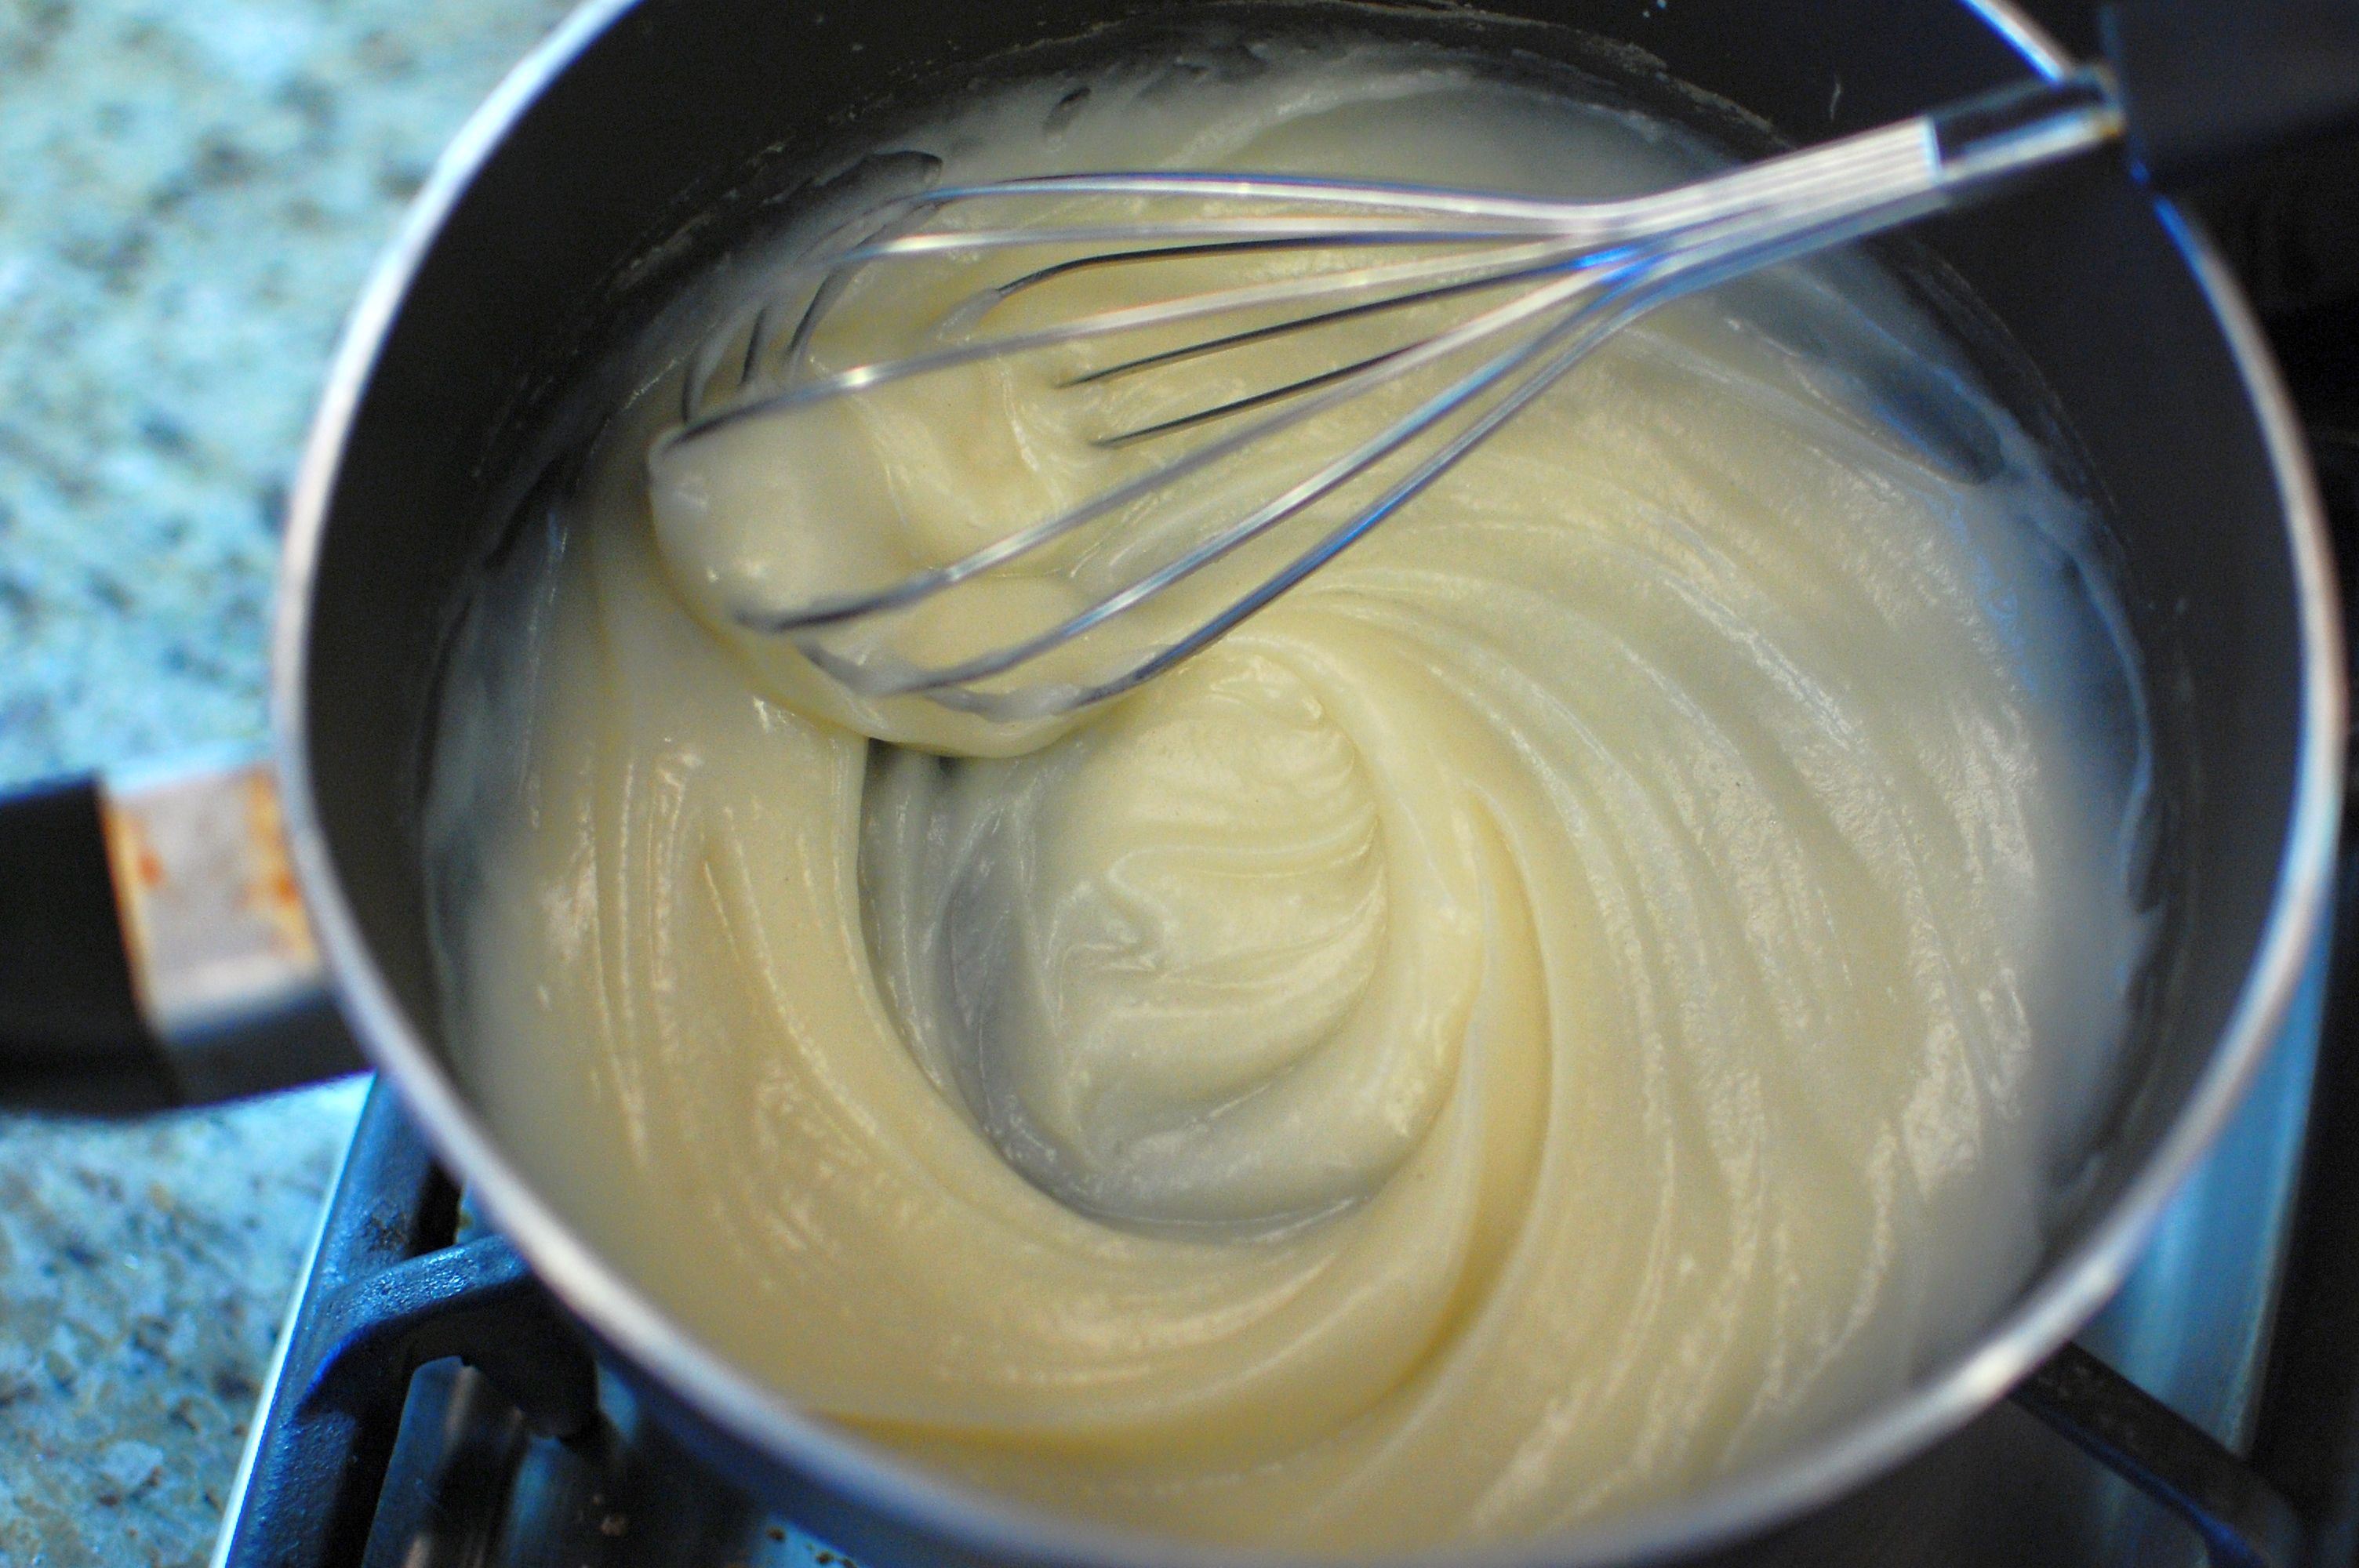
So how does one spend 6 hours making doughnuts? Well you start with something called a Tangzong, its often called a water roux and its exactly what you would expect a water roux to be, water and flour, whisked together over heat until it gets nice and thick.

Next you throw the tangzong, plus all of your other ingredients into a bowl and give it a rough stir just to get everything together, finally you put it in your mixer, bread machine, or on your lightly floured counter top and kneed it for about 15 minutes. If you're using a kitchen aid mixer like I am, you will want to grab your dough hook, and make SURE you set the speed at 4 or higher, any lower and you risk burning out the motor. Trust me I've seen THREE of these bad boys die out from kneading on too low of a speed DON'T DO IT.


After 15 minutes, check your dough, you really want to work that gluten out so look for window pane-ing like this, it is where you can easily stretch the dough between your fingers and see through it like a window pane:

Finally, set your dough to proof in a well oiled bowl, I like to turn my oven on for just a split second, once the coil is clearly on I immediately turn it off which gives you a nice barely warm oven, you're looking for maybe 80 degrees or, just a few degrees above room temp. Then I cover my dough with a damp, oiled cloth and leave it alone for an hour or so, until I remember it.
When you do remember your dough, go punch it down, cover it and do the whole thing again.


Once your dough has reanimated (walking dead anyone?) Dump it out onto a floured surface and roll it out into a sheet, honestly I rolled by dough too thin here, I think between 1/3" - 1/2" thickness is what you're going for.


Finally, cut out all of your doughnuts with glasses, Tupperware, biscuit cutters or whatever you have, again mine are a bit thin, yours should be a touch thicker.

Let these proof in the oven for another hour or so, and they should come out looking nicely puffed and ready for an oil bath! The doughnuts in the first pic are some hand rolled ones I made and which proofed nicely, the one towards the back right corner is what yours should look like, the doughnuts in the bottom pic were proofed in an oven that was TOO HOT (I accidentally left the burner on for a minute or so) so don't do that, you will notice they don't poof as high, and their sides have fallen a bit. NO GOOD.


Finally, its time for a quick dip in 375 F oil, they should only fry for about 60 seconds per side, you will know by the change in color. Don't walk away from the pot or you WILL burn them, they are easy to overcook. You want them to be JUST barely golden brown.


Then simply whisk together some water and sugar for a glaze, dip them in, badda bing, badda boom, DOUGHNUTS!


Glazed Doughnuts
Source: The 350 Degree OvenPrep time: 4 hrsActive prep time: 45 min
Servings: about a dozen, depending on size
Ingredients:
Tangzhong:- 1/3 c. all purpose flour
- 1 c. water
- 1/2 c. milk
- 2 tsp. yeast
- 2 1/2 c. all purpose flour
- 4 T. sugar
- 3 T. unsalted butter
- 1/2 tsp. salt
- 1 egg
- 2 c. powdered sugar
- 1/2 tsp. salt
- 1 tsp. vanilla
- 3 T. water
Directions:
- Warm a small saucepan with 1/2 cup milk over medium heat. When milk reaches 110 degrees, pull off heat and sprinkle yeast on top.
- Mix flour and water together in a medium skillet over medium heat. Mixture will be liquid at first, cook over medium heat, whisking constantly until mixture thickens and pulls away from bottom of pan. Remove mixture from heat and continue whisking until mixture's temperature is below 120 F.
- Combine thickened flour/water mix with yeast/milk mix and all other dough ingredients into a mixing bowl, or work bowl of a stand mixer with dough hook attachment. Stir to combine.
- Either place work bowl on stand mixer with kneading hook attachment, add to a bread machine, or turn out onto a floured work surface and knead for 15 minutes.
Side note: If you use a kitchen aid to knead dough, please for the love of stand mixers, do NOT knead below speed 4. I know it sounds counter intuitive, but you WILL burn out your motor if you knead or mix thick batters at a low speed, higher IS better. The dough hook is even specifically made to spin with the machine so that at speed 4 its still barely working the dough. This is a good thing. Speed > 4 = GOOD; Speed < 4 = BAD. Got it? There, I just saved your mixer, you can pay me back by subscribing to my blog :-) - You want LOTS of gluten so after 15 minutes, test your dough for window pane-ing, if you cannot see through the dough when pulled apart between your fingers or if dough breaks instead of stretches, continue to knead dough. If dough easily stretches between your fingers, move it into an oiled work bowl and allow to rise in warm, moist area for an hour.
- Check on dough after an hour, it should have more than doubled in volume
- Punch it down, let it rise again (or reanimate if you like The Walking Dead)
- After the second rise, turn the dough out onto a floured work surface, roll to about 1/2" thick, it should be pretty thick, we're not making biscuits here, these are DOUGHNUTS! You want them to be fluffy and soft inside, so you need to make them thick enough to get separation from the crispy outside.
- Cut out your doughnuts and doughnut holes and set them on a baking sheet. Set back in where you let your dough rise, and proof the doughnuts for about another hour.
- Get a pot of oil ready and heat the oil to 375 F. Set up a baking sheet with cooling rack for doughnuts to drain on.
- Once doughnuts have proofed, drop them into the oil no more than 2 or 3 at a time, you don't want to drop the temp of the oil too much from the cold dough. Flip after about 30 - 60 seconds. Flip early and often, you can always go back to side 1 but you can't uncook an over cooked doughnut.
- Remove fried doughnut onto cooling rack. Once all doughnuts are fried, allow to cool for 5 - 10 minutes while you whisk together a quick glaze.
- Whisk all glaze ingredients together and place in a shallow baking/serving dish. Dip doughnut into glaze, turning over to coat both sides, then place doughnut back on cooling rack to allow glaze to set.
- Doughnuts should be set, tasty and ready to eat in about 10 minutes. Don't wait too long (or get distracted taking pictures!) These puppies are PERFECT while still warm and not quite as tasty once completely cool.
- Reheat left over doughnuts (if there are any!) for 15 seconds in the microwave for deliciousness the second time around.
No comments:
Post a Comment